
Your destination for OEM & Genuine BMW parts at discount prices


BIMMERS.COM GUARANTEES
Discount prices
Updated daily in order to have the best prices in the industry
Fast Delivery
Same-day shipping on most orders
Best Brands
We sell products from proven, high-quality brands


OUR TOP BRANDS


STORIES FROM THE BIMMERS TEAM
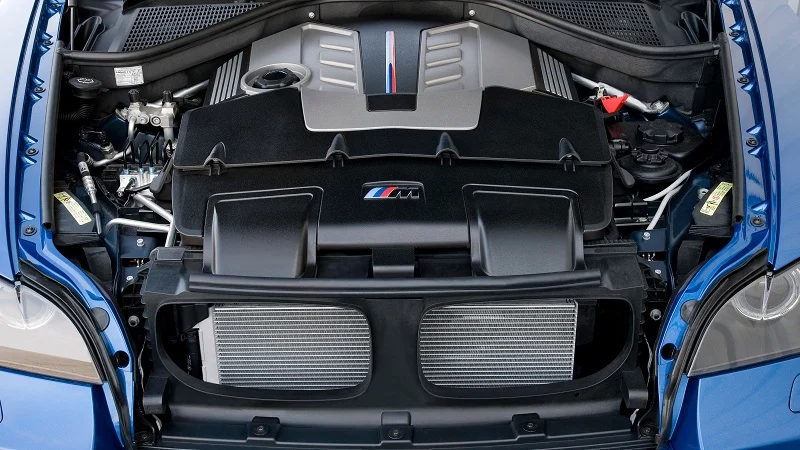
BMW B48 Reliability and Common Issues

In the luxury car world, few names carry as much prestige and reputation as BMW. For decades, BMW has been at the forefront of innovation and has produced vehicles with a seamless blend of performance, luxury, and cutting-edge technology. From luxury SUVs to powerful coupes and sedans, BMW’s engines have delivered precision, efficiency, and an […]
A Sneak Into The BMW N26 Engine Reliability

BMW has established a reputation for producing exceptional engines over the years. These engines offer exceptional performance, fuel efficiency, and reliability. One of their top-performing engines is the BMW N26. It demonstrates BMW’s strong dedication to environmental impact and build quality. A car’s engine is crucial in determining its reliability and performance. It serves as […]
The Ultimate Guide to BMW B58 Oil Selection

For those who own a well-known BMW with a strong B58 engine, you already know how exciting it is to drive with this motor. It’s made to work well and be precise. But the engine oil you choose is one important thing you can’t forget about if you want your B58 engine to keep running […]
BMW B58 Spark Plugs — Which Ones To Get?
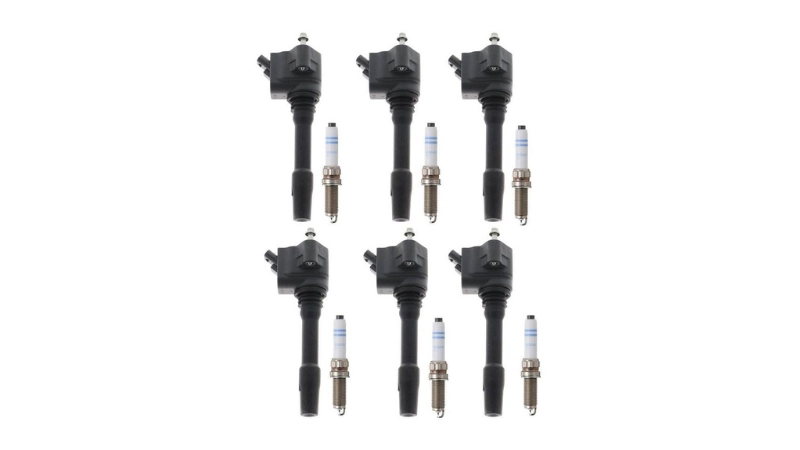
Welcome to our in-depth exploration of choosing BMW B58 spark plugs. Every component plays a crucial role in maximizing the performance and efficiency of your BMW B58 engine. Spark plugs are among these components, and they are small yet mighty contributors to your engine’s operation. Spark plugs ignite the air-fuel mixture within the engine cylinders, […]
Is Your BMW B58 Eating Oil Filters? Here’s Why
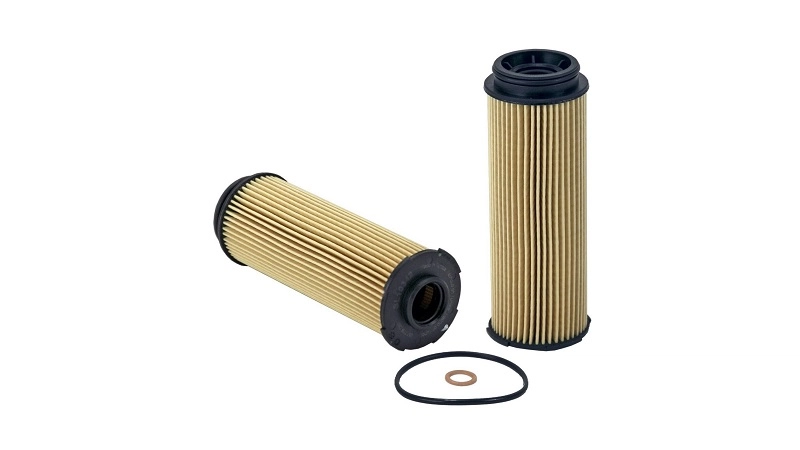
If you own a BMW equipped with the renowned B58 engine, you’re likely no stranger to its exceptional performance and refined engineering. However, many BMW B58 owners have encountered a serious problem — the dreaded B58 oil filter failure. This phenomenon has sparked discussions and raised questions about the underlying reasons behind this unexpected behavior. […]
2C24 BMW Code — Oxygen Sensor Issues
In the complicated world of modern automotive engineering, a few components play a more critical role: the oxygen sensors. Installed within a vehicle’s exhaust system, these little components tirelessly monitor the air-fuel mixture, ensuring optimal combustion efficiency. Among the number of diagnostic codes that can illuminate a dashboard, the 2C24 BMW code stands out, signaling […]